
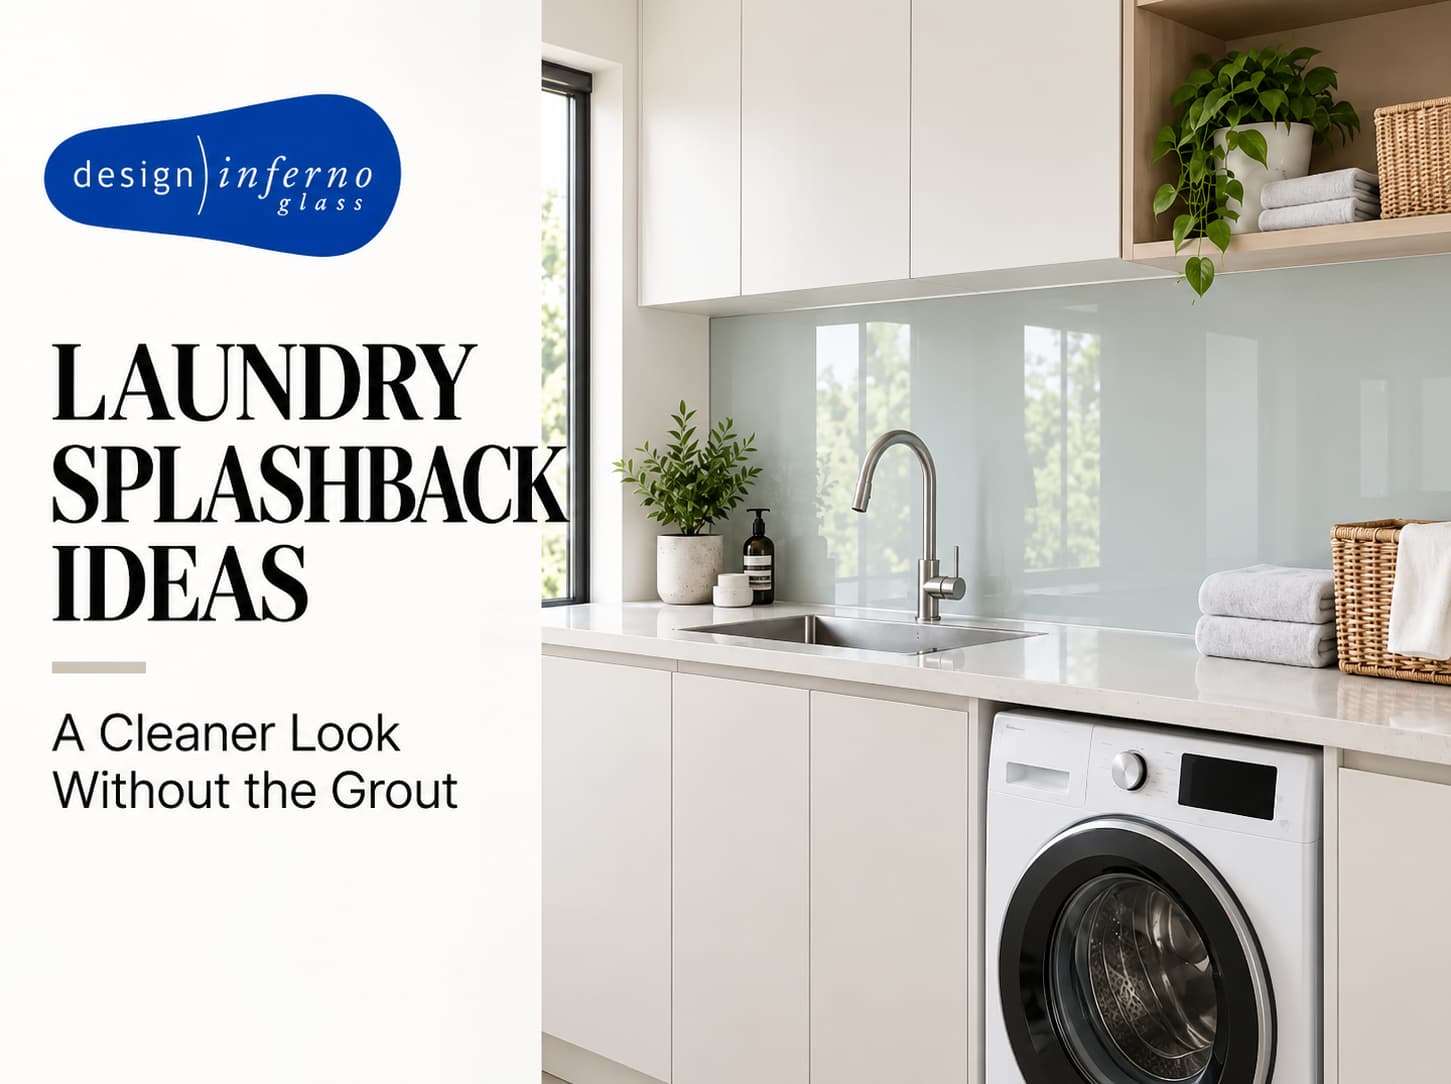
A laundry splashback is a wipe-clean panel that protects the wall behind the trough and bench from water, detergent and damp. The most practical laundry splashback ideas put toughened glass behind the trough, where grout struggles, and use glass, mirror or tiles along the bench. Acrylic suits a lightly used laundry on a tight budget. Because a laundry run is short, a glass quote is usually far smaller than a kitchen one.
Key Takeaways
- Two zones: the trough wall takes the water and cleaning chemicals; the bench wall mostly gets wiped.
- Behind the trough: a grout-free glass panel avoids the stained, mouldy grout lines that tiles develop in a damp laundry.
- Mirror: it brightens a small or windowless laundry, but belongs on the bench wall, away from trough splashes.
- Before measuring: decide every tap, power point, dryer bracket, rail and hook. Toughened glass cannot be drilled once made.
- Height: the National Construction Code sets a minimum water-resistant height above a laundry tub; above that, height is a design choice.
Laundry Splashback Ideas at a Glance
The right laundry splashback depends on which wall it covers and how hard the laundry works. This table gives the short answer for each situation.
| Situation | Practical choice | Why |
|---|---|---|
| Wall behind the trough | Back-painted toughened glass | No grout to absorb water, detergent or bleach |
| Bench wall | Glass, mirror or tiles | Lower splash, so looks and light can lead |
| Small or windowless laundry | Pale low-iron glass, or mirror on the bench wall | Reflects light and makes the room feel larger |
| Tight budget, light use | Acrylic sheet | Wipes clean and is often the lower-cost option |
| Pattern, texture or DIY | Ceramic, porcelain, subway or mosaic tiles | Widest range of looks; can be laid and cut on site |
Do You Need a Splashback Behind a Laundry Trough?
Yes. The wall behind a laundry trough takes the most water in the room, often mixed with detergent, bleach or stain remover. Painted plasterboard does not cope with that for long.
- Trough zone: rinsing, soaking, filling buckets and tap spray. Needs a surface that handles constant water and chemicals.
- Bench zone: folding, sorting and treating stains. Gets wiped more than splashed, so looks and light can lead.
- Damp: many laundries are small internal rooms with little airflow, so walls stay wet for longer.
Which Splashback Material Suits a Laundry?
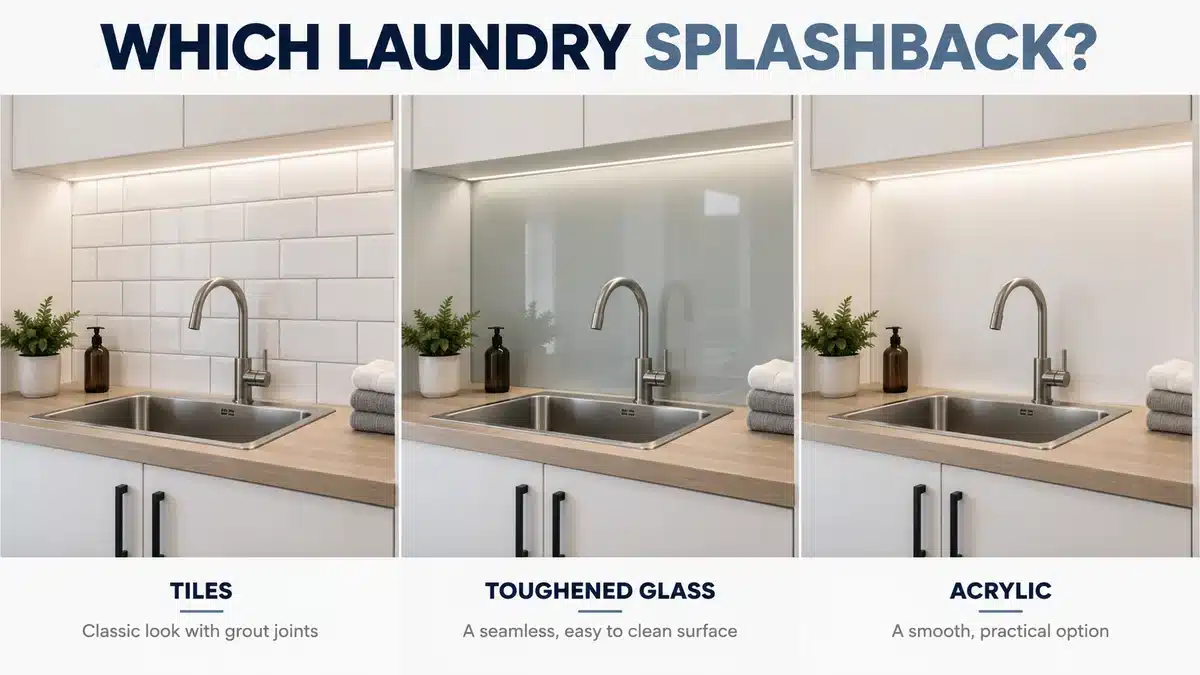
Toughened glass is the most practical choice for the trough wall because it has no grout. Tiles and acrylic can work well on the bench wall or in a lightly used laundry. Design Inferno Glass makes glass splashbacks, so it is worth saying plainly: tiles and acrylic are the right call in some laundries.
| Tiles with cement grout | Back-painted toughened glass | Acrylic sheet | |
|---|---|---|---|
| Types | Ceramic, porcelain, subway, mosaic | Coloured, low-iron, mirror, textured | Gloss sheet in many colours |
| Surface in the splash zone | Glazed tile face is sealed; grout joints are porous unless sealed or epoxy | One non-porous panel; only the silicone edges are joints | Non-porous plastic sheet |
| Detergent and bleach spills | Can soak into grout and mark or lighten it | Sit on the surface and wipe off | Sit on the surface; follow the maker’s care guide |
| Damp and mould | Mould can take hold in grout lines | No grout; keep the silicone edges clean and dry | No grout; keep the edges clean and dry |
| Daily cleaning | Tile face wipes clean; grout needs scrubbing and resealing | Soft cloth and a non-abrasive cleaner | Wipes clean but scratches more easily |
| Changes after fitting | One tile can be replaced; tiles can be cut on site | Cannot be cut or drilled on site | Varies by product |
| Budget | Wide range, from budget to high-end | Made to measure; a short laundry run keeps the total down | Often chosen as the lower-cost option |
| Where it fits in a laundry | Bench walls, DIY projects, pattern lovers | Behind the trough, and anywhere easy cleaning matters most | Light-use laundries on a tight budget |
- Choose glass if the trough gets daily use, the room stays damp, or you never want to scrub grout again.
- Choose tiles if you want pattern or texture, plan to do it yourself, or the splashback is mainly on a dry bench wall.
- Choose acrylic if budget comes first and the laundry is lightly used.
The general case for glass over tiles, including kitchens, is covered in Why Choose Glass Splashbacks? A Melbourne Buyer’s Guide.
Does laundry detergent damage grout?
Laundry detergent will not ruin grout quickly, but cement-based grout is porous, so splashes soak in rather than sitting on top. Grout manufacturers’ care guides recommend pH-neutral cleaners because acidic products such as vinegar weaken cement grout over time. Chlorine bleach can also lighten coloured grout. In a laundry, these products sit right above the trough. Sealing the grout or using epoxy grout reduces the problem; a grout-free panel removes it.
Is acrylic a good alternative for a laundry?
Acrylic is a reasonable choice for a lightly used laundry on a tight budget. It is non-porous and wipes clean. It is not suitable directly behind a gas cooktop, but a laundry has no cooktop. Its weak point is scratching: acrylic marks more easily than glass, and a laundry wall gets knocked by baskets, buckets and brushes.
Glass Laundry Splashback Ideas
Glass laundry splashbacks work well when each idea matches a zone of the room. These are the options that suit how a laundry is used.
- One seamless panel behind the trough: a single back-painted glass panel with no grout. The only joins are silicone edges, which can be refreshed years later if they discolour.
- Full height behind the trough: tap spray and rinsing throw water higher than people expect, so a taller panel protects more wall.
- Glass around a window: a panel can run up to the sill and be cut to fit the window reveal.
- Colour-matched glass: back-painted glass can match your cabinetry or wall paint colour.
- Mirror on the bench wall: reflects light in a small or windowless laundry, kept clear of trough splashes.
- Textured slump glass as a feature: textured slump glass adds depth above the splash line or at the end of the bench. Behind the tap, lint and detergent would settle in its ridges.
How High Should a Laundry Splashback Be?
A laundry splashback must at least cover the minimum set by the National Construction Code. Where a laundry tub is within 75 mm of a wall, the wall must be water resistant to at least 150 mm above the tub. Your builder confirms what applies to your home. Above that, height is a design choice:
- To the underside of the wall cupboards, for a built-in look.
- To the window sill, when a window sits above the trough.
- Full height behind the trough, where tap spray reaches highest.
Keeping one top line across the trough and bench makes a small room look tidy.
What Colour Should a Laundry Splashback Be?
Pale colours suit most laundries because they make a small or windowless room feel lighter. Colour also affects how much cleaning shows:
| Colour | How it behaves in a laundry |
|---|---|
| White and very pale | Brightest result. Ask for low-iron glass, because standard glass gives whites a faint green tint. |
| Soft grey, green and warm neutrals | Mid tones are more forgiving between cleans. |
| Black and charcoal | Striking, but darker colours can make water spots and lint easier to see. |
| Matched colour | Back-painted glass is usually colour-matched to a paint colour code, so it can pick up your cabinetry or walls. |
A laundry is a low-risk room to try a stronger colour, because the wall is small and guests rarely see it. Design Inferno lists colour matching to paint brands. Its glass splashback colour simulator shows Dulux colours, including white on Starphire glass beside white on clear float glass. Screens vary, and Design Inferno recommends choosing colours at its showroom at 48 Logistics Street, Keilor Park.
Can You Put a Mirror Splashback in a Laundry?
Yes, a mirror splashback works in a laundry if it sits on the bench wall or above the splash line, not directly behind the trough. A mirror’s silver backing is most exposed at its edges. Water splashes, steam and cleaner that runs to the edge can oxidise it, causing dark “edge creep” that spreads inwards.
| Mirror splashback in a laundry | |
|---|---|
| Works well | Bench wall in a small, narrow or windowless laundry, where reflected light makes the room feel larger. |
| Avoid | Directly behind the trough, where water and bleach reach the edges. |
| Tint options (general) | Mirror glass is made in clear and tinted versions, such as bronze and grey (smoked). Tinted mirror gives a softer reflection. Check which your supplier offers. |
| Fixing | Ask for a mirror-safe adhesive. Adhesives with acidic components can damage a mirror’s protective backing. |
| Cleaning | Spray cleaner onto a cloth, not the mirror, then dry the edges. Keep laundry bleach away from it. |
Design Inferno lists toughened mirror among its glass splashback types, and makes custom wall mirrors in toughened glass. The full routine is in how to clean a wall mirror.
How Much Does a Glass Laundry Splashback Cost?
A glass laundry splashback is quoted from your measurements, so there is no single price. Because a laundry is usually one short wall behind a trough and bench, the glass area is a fraction of a kitchen run. The total does not shrink in exact proportion, as measuring and fitting still happen. It is still worth pricing glass for the laundry even if a kitchen quote ruled it out.
| Cost driver | What it means in a laundry |
|---|---|
| Area of glass | Usually small. Full height behind the trough adds area, so price both options. |
| Type of glass | Low-iron, mirror and textured glass cost more than standard back-painted glass. |
| Cutouts | Each tap, power point, water outlet or dryer bracket position adds fabrication work. |
| Colour and finish | Custom colour matching and special finishes add cost. |
| Old tiles | Removing old tiles costs extra. Ask whether your supplier will fit over tiles. |
| Access | Tight spaces and awkward returns can add fitting time. |
To compare quotes, ask each supplier to list glass type, cutouts and installation separately.
Can a Glass Splashback Go Over Existing Tiles?
Whether a glass splashback can go over existing tiles depends on the supplier and the wall. Some splashback makers say their panels must not be fixed straight onto tiles and need a smooth, clean wall. Where fitting over tiles is allowed, the tiles must be flat and firmly bonded, because uneven tiles and raised edges show through glossy glass. Ask your supplier before assuming the tiles can stay.
What to Sort Out Before Measuring
Important: Finalise every wall fitting before measuring
Toughened glass is cut and drilled before it is toughened, and it cannot be changed on site. Everything that touches the laundry wall must be decided before the final measurements are taken:
- Trough, bench and taps installed. The panel is measured to the real trough and bench line.
- Power points final. Moving one is electrical work. In Victoria, Energy Safe Victoria says it must be done by a licensed electrician through a registered electrical contractor, who provides a Certificate of Electrical Safety.
- Taps and water outlets marked. Each needs a cutout. Moving a tap is plumbing work, so organise your plumber first.
- Dryer bracket placed. Follow the dryer’s installation manual for position and clearances. The bracket sits outside the glass or its holes are planned into the panel.
- Rails, shelves and hooks planned. Nothing can be screwed through the glass later.
- Wall prepared. Flat, dry and sealed, or tiled with sound, flat tiles. Splashback panels are typically fixed with neutral-cure silicone, and a bowed wall shows through glossy glass.
Splashback glass should be toughened safety glass. Safety glazing is made to AS/NZS 2208:2023, and glass is selected and installed under AS 1288:2021. Ask your supplier to confirm the glass is toughened safety glass; your installer confirms what applies to your wall.
Summary
Put grout-free glass behind the trough, choose the bench wall for looks and light, and settle every fixing before measuring. Design Inferno designs and makes custom glass splashbacks for laundries, kitchens and bathrooms in its Keilor Park workshop, and installs them across Melbourne. Measure your trough and bench run and request a quote with your measurements.
Frequently Asked Questions
Clean a glass laundry splashback with a soft cloth and warm soapy water or a non-abrasive cleaner, then dry it to avoid streaks. Skip scourers and abrasive creams. Wipe off bleach, powder and stain remover splashes rather than leaving them on the silicone edges. The full routine is in how to clean a glass splashback.
A wall-mounted dryer mainly affects the fixings. Its bracket cannot be screwed through toughened glass after it is made, so plan its position before the glass is measured. Follow the dryer’s installation manual for clearances. A vented dryer also adds moisture, so run the exhaust fan while it is on.
A glass splashback gives mould nothing to grow in, because there is no grout. The silicone along the edges can mark in a damp, poorly ventilated laundry. Wipe the edges dry after heavy use and keep air moving. Discoloured silicone joins can be refreshed without replacing the glass.
Splashback glass should be toughened safety glass, which is heat-treated to be stronger than ordinary glass. If it breaks, it crumbles into small, blunt pieces rather than sharp shards. Ask your supplier to confirm the panel is toughened safety glass before you order.
